DIY Jewelry Holder
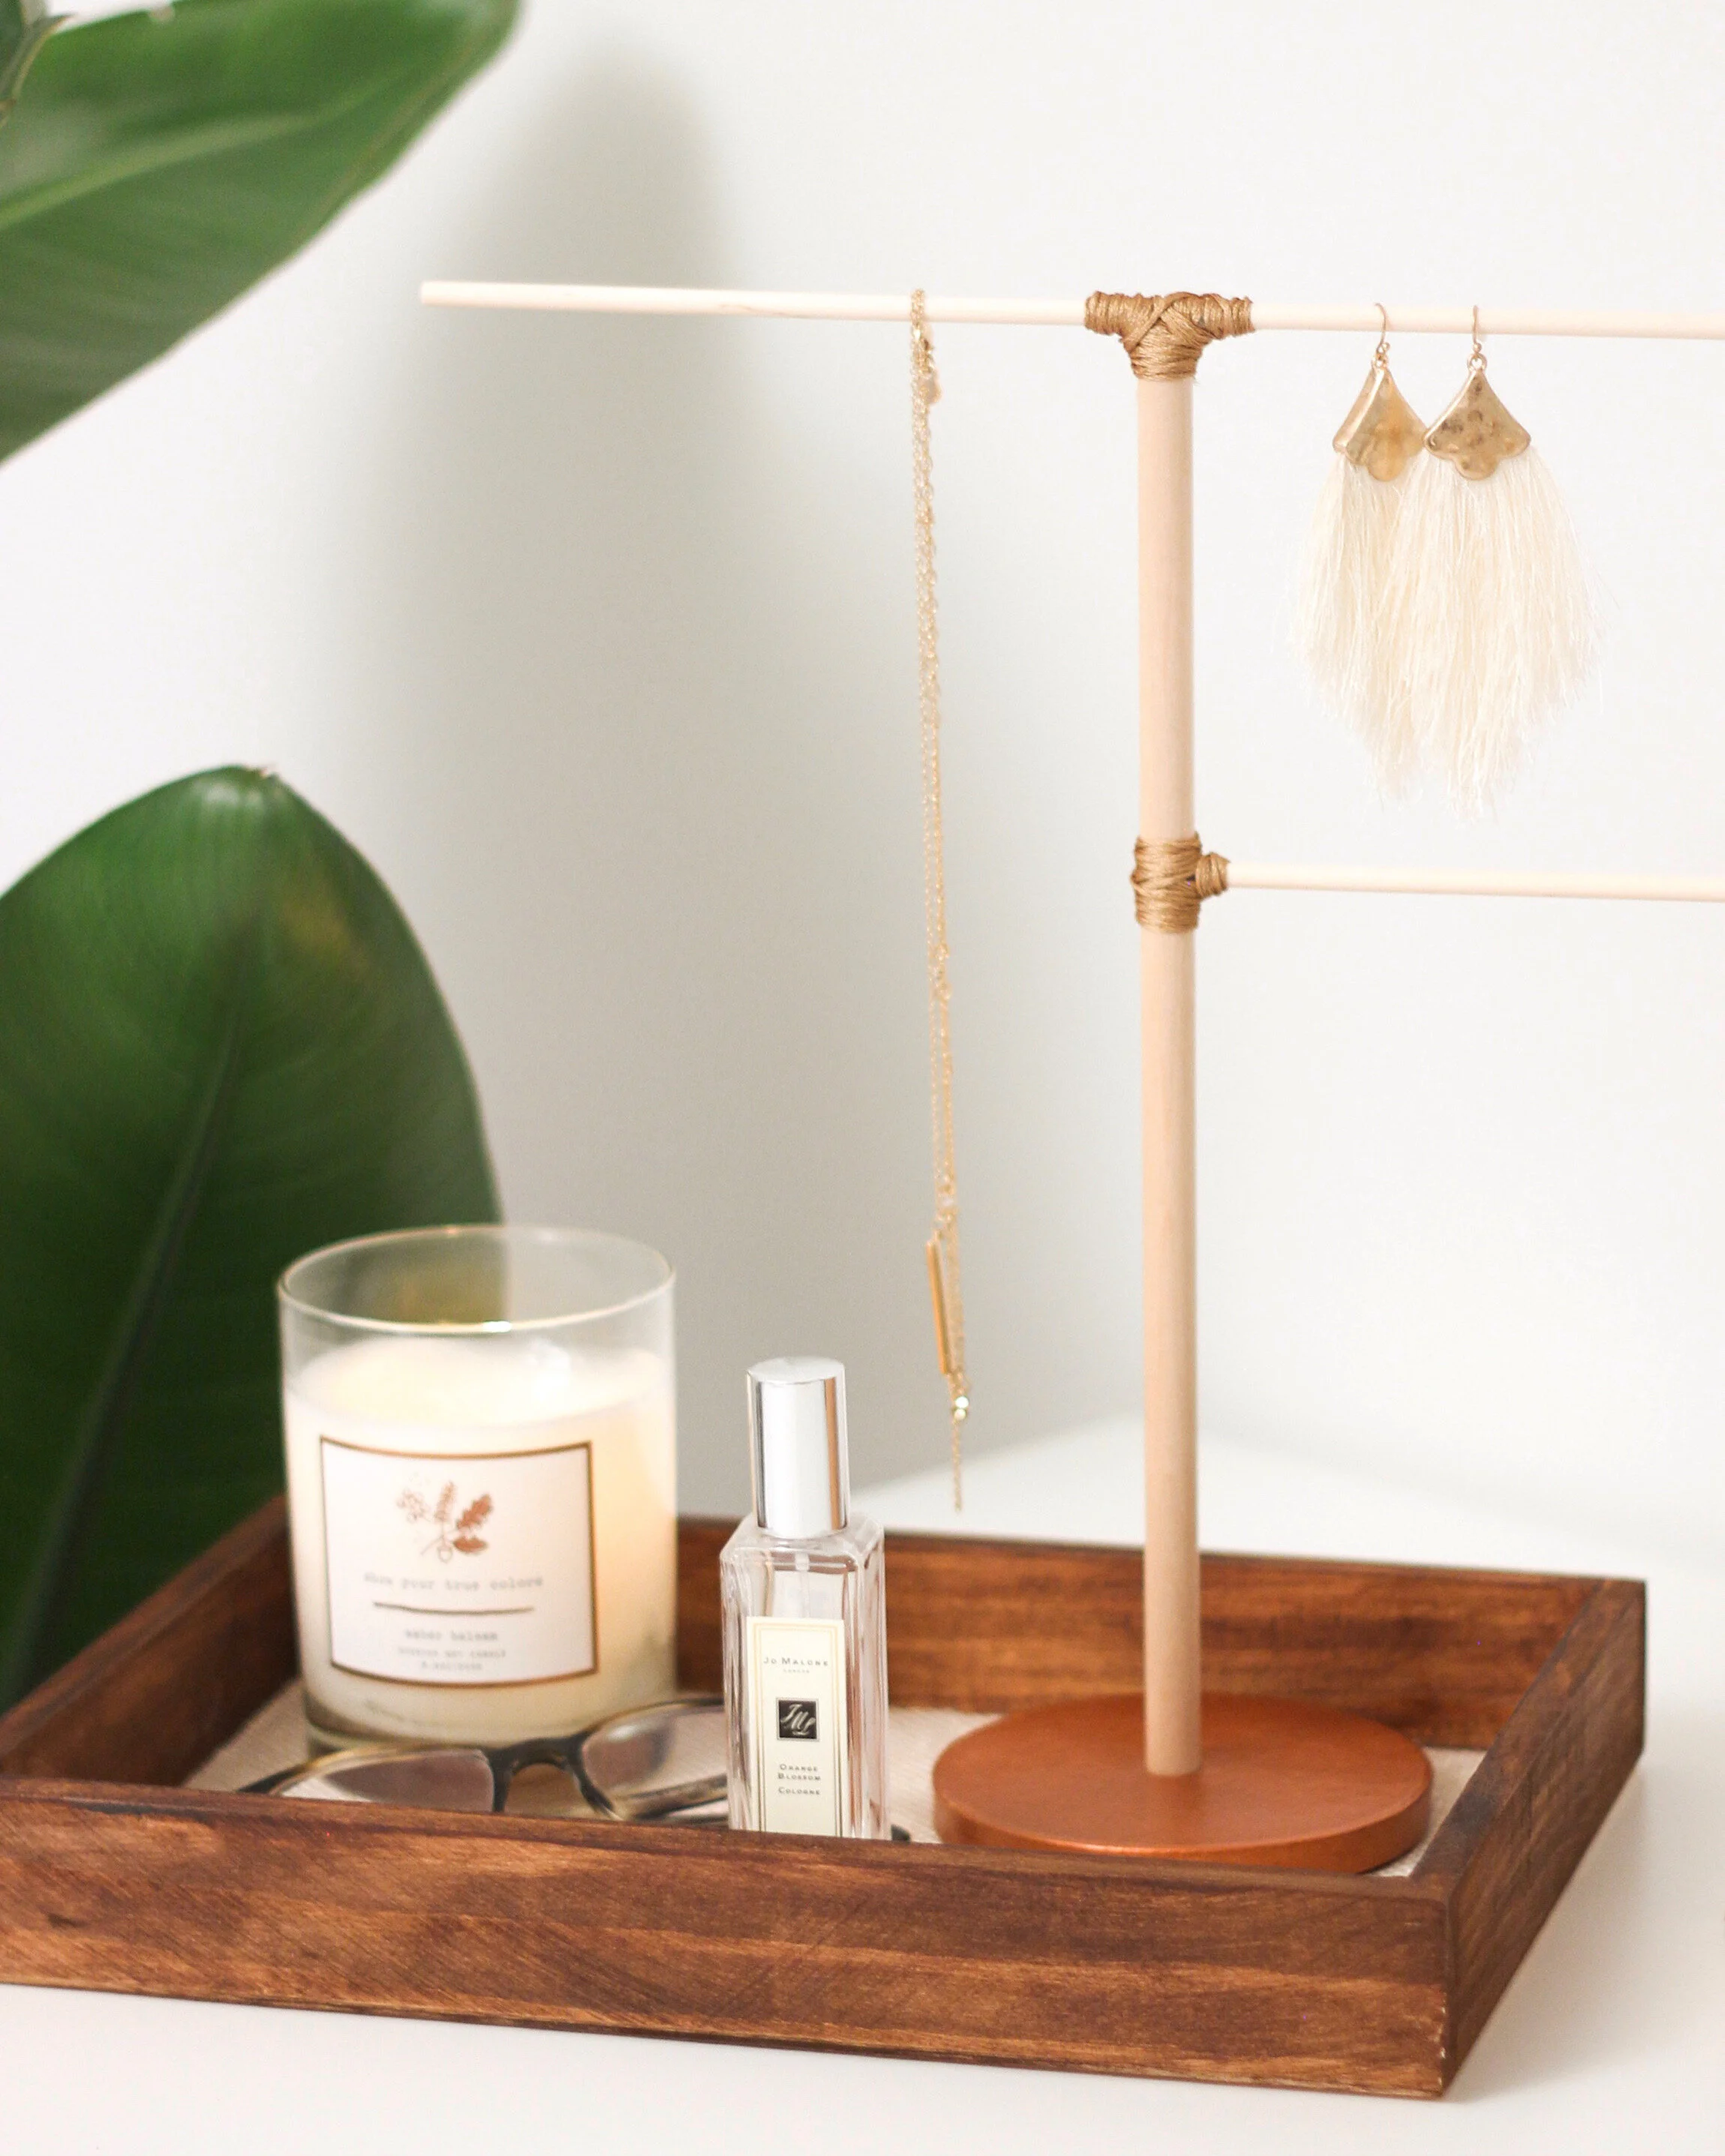
I have been searching for the perfect way to display some of my favorite jewelry pieces, and I really wanted something that matched the rest of my decor. I decided to create my own jewelry holder in just a few short steps, and at a very affordable price. It looks so chic and it definitely fits my style.
Materials:
Wood Dowels
Paper Mache Circular Ornament
Embroidery Thread
Acrylic Paint
Glue
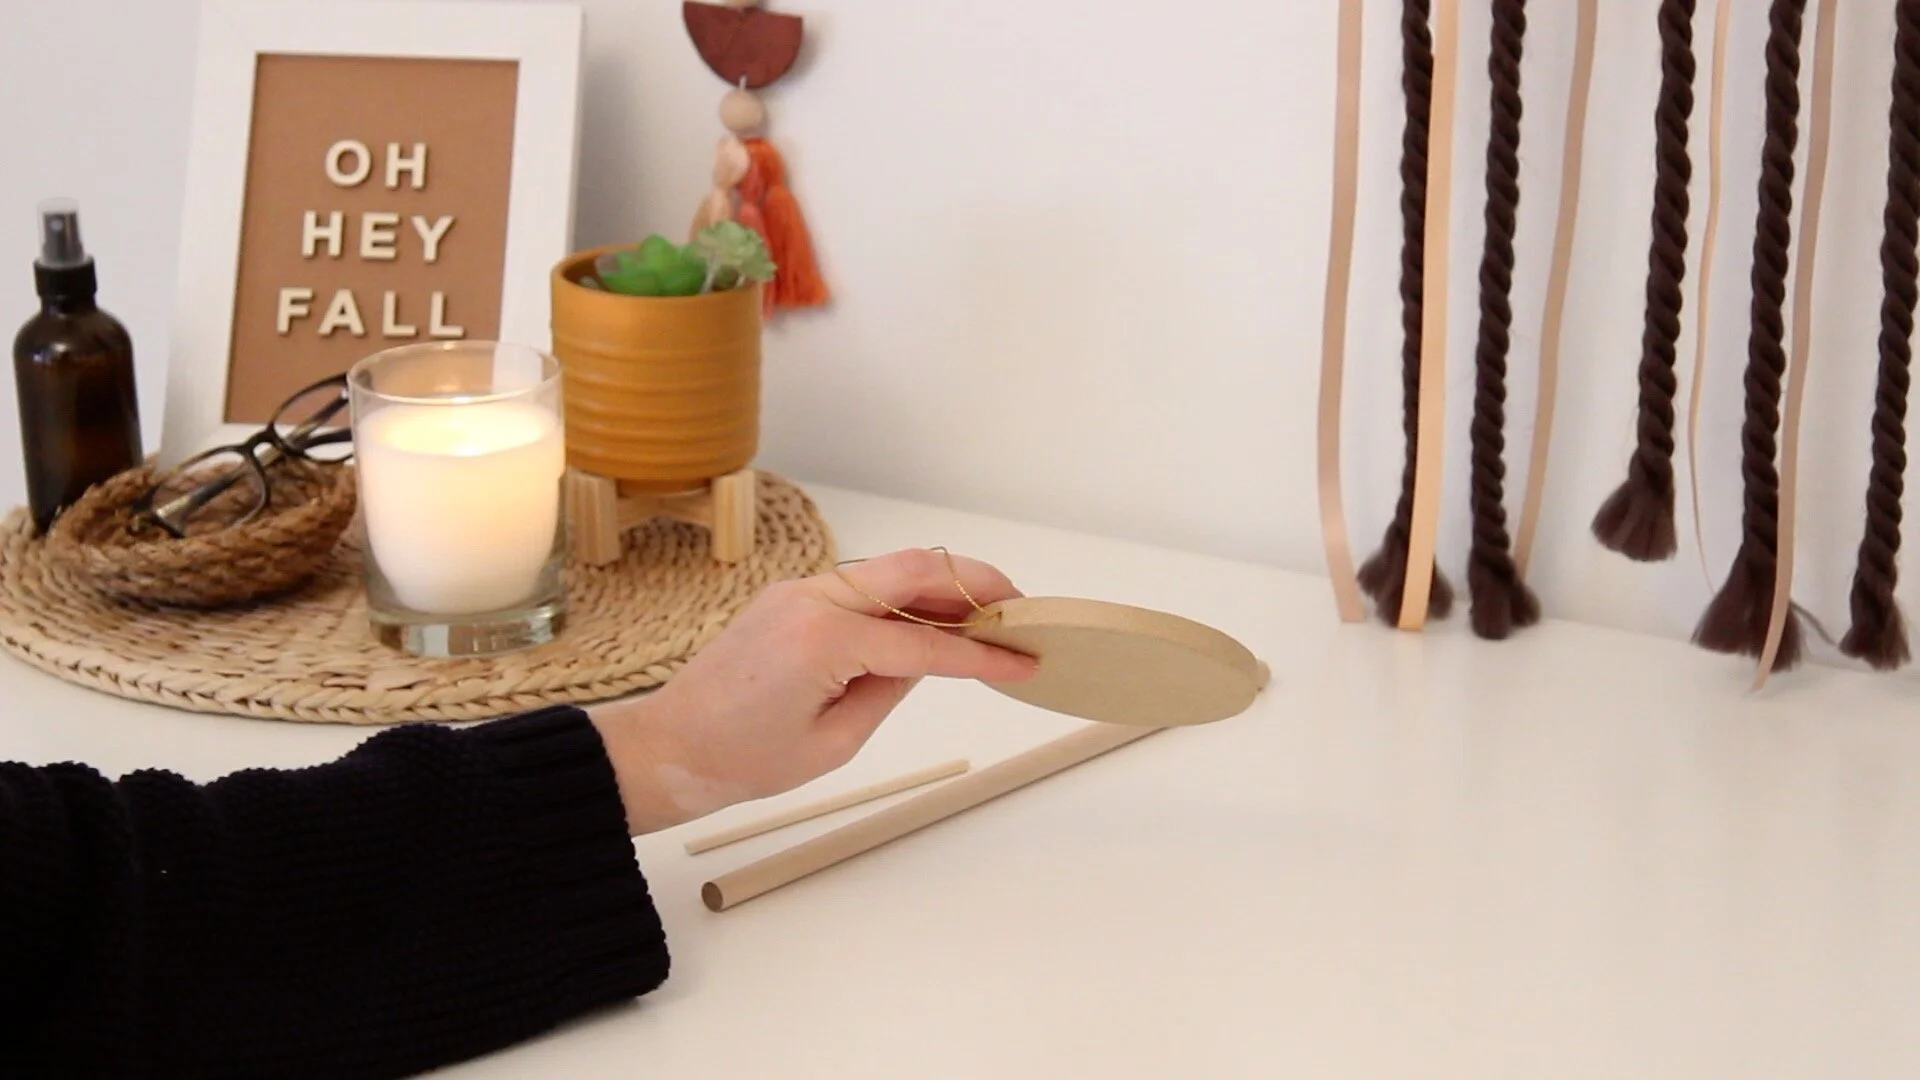
I started off with 3 wooden dowels, one in a larger size, and 2 narrow. I also cut one of the narrow dowels to be half of its original length. For the base, I used a paper mache ornament from the craft store.
To create the base, I found the center point of the circle, then traced the larger dowel rod with a pencil. I used my x-acto knife to cut a hole for the dowel to fit into.
To finish off the base, I added a couple coats of copper acrylic paint.
While the base was drying, I assembled the arms of the jewelry holder. For this step, I used the 2 narrow dowels, one of which I had cut in half. I like to use a combination of hot glue and E6000. The hot glue keeps it in place at first, while the E6000 ensures that it stays in place over time. I glued the full size dowel to the top of the larger dowel. Then I glued the half dowel a few inches down.
To give it a little bit more stability and to make it more visually appealing, I decided to add some gold embroidery thread around each of the points where the dowels come together. To do this, I added a dot of hot glue and then wrapped the thread around the dowels several times until I was happy with the way it looked.
The last step is to add some glue to the hole of the base, and secure the large dowel inside. Once it’s dry, it’s ready to use!


